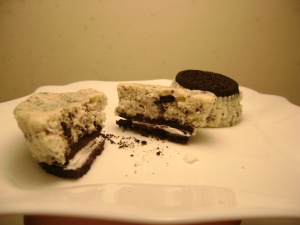
Martha’s Cookies & Cream Cheesecake Cupcakes
January 29, 2010
Another Christmas gift this year was Martha Stewart’s cupcake book. I have really wanted this for so long. There are just so so so so many great ideas in it! Here is my first one.
Cookies and Cream Cheesecakes
Yields 24 cupcakes
Ingredients
1 package of oreo type cookies
2 lbs. cream cheese, room temperature
1 cup sugar
1 teaspoon vanilla
4 large eggs, room temperature
1 cup sour cream
pinch of salt
Directions
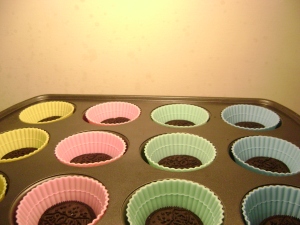
Preheat oven to 275 and line standard muffin tins with cupcake liners. I had the silicone cupcake liners so I used those instead. You don’t have to place these in muffin tins either.
Another cool thing about these cupcakes, is the fill line. The wilton brand ones have a “fill to line” so you wont overload with batter, but it wasn’t needed for this recipe because you its not cupcake batter, but cheesecake batter.
In the bottom of each liner, put a whole cookie. Kind of a pre-made crust.
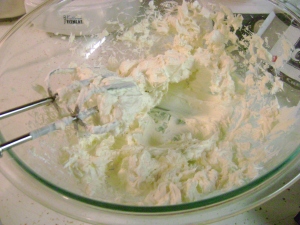
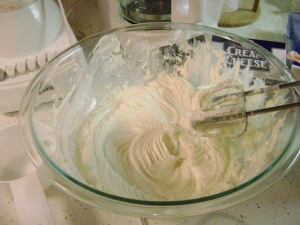
Beat the cream cheese with an electric mixer until well blended, scraping down the bowls.
Add sugar slowly and beat and scrape again. Beat in vanilla too.
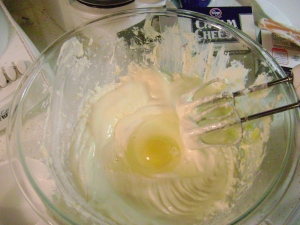
Beat in eggs one at a time, slowly adding them.
Beat in sour cream and salt.
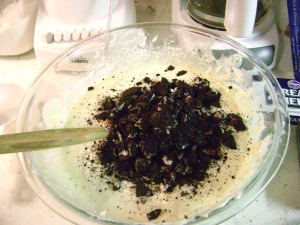
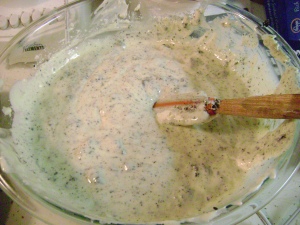
Take left over cookies and crush. Add this to the batter and mix by hand. A hand with a spatula that is.
Fill each cupcake almost to the top.
Bake for 22 minutes, rotating the pan halfway through. They are done when they do not jiggle a whole lot.
Transfer to wire racks to cool. Refrigerate in tins for at least four hours.
Sweet Cherry Pie
January 21, 2010
You know, I don’t like cherries. There was some fruit in Spain really close to cherries that I loved though. Man I wish I could find them. Yesterday was Bryon’s birthday. These birthday’s never stop! Bryon wanted a cherry pie. Honestly, I’ve never made a cherry pie. And I realize that making a full pie, may go to waste over time. So I wanted something more… number friendly I suppose.
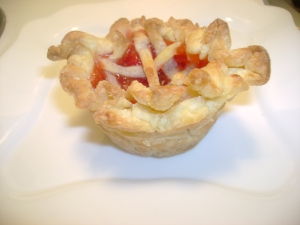
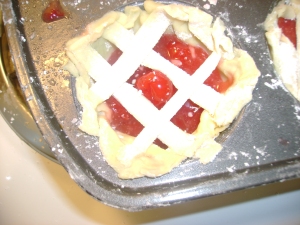
Mini Cherry Pie Tarts
I didn’t try any of these, but my friend Byron did. He said they are good. So I’ll take is word for it.
Ingredients
1 can canned cherry pie filling (you can use frozen or fresh cherries too. Just heat them on the stove top instead and let the juices come out)
1 cup sugar
3 tablespoons cornstarch
2 pastry sheets or frozen pie crusts that you can roll out
1 tablespoon vanilla
2 tbs melted butter
1 teaspoon salt
I really went into all this blindly. I just added and cominded what I thought would actually taste good. Supposedly it is!
Directions
Preheat oven to 425 and grease a muffin tin.
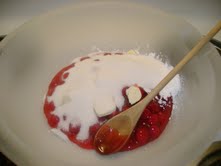
In a bowl combine the cherries, making sure to get all the juice out of the can, butter, salt, cornstarch, and sugar. Stir well and then add the vanilla and stir again.
Let sit and in the meantime, make your mini tarts. Roll out your pastry sheet on a floured surface. I didn’t have flour, so I used cornstarch. Same thing, right? A 3-4 in circle cutter is best, but mine is a little smaller, so I ended up cutting them out of squares with my pastry wheel. Thinking back, I could have cut circles with that too. Hmm. Ohwell, for next time.
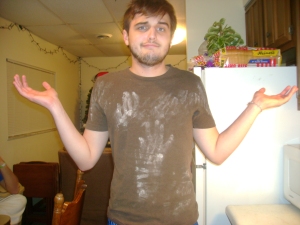
Cornstarch sticks to stuff much better. See?
It was only one hand print at first, but we all lost it cause it stood out so much, so more came.
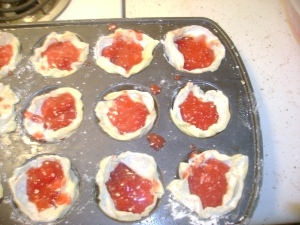
Regaining your composure, stuff the muffin pans with your pastry circles.
Fill with cherry pie mixture. I used alllll of my juices. Fill these up full.
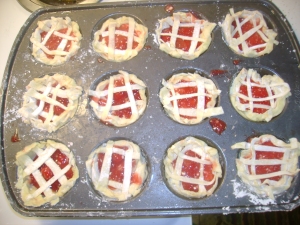
If you want to do a lattice top you can. I just did different checkered patterns to see what I’d like. I’d show you a tutorial on how to do it, but its hard to see on such a small piece. Maybe I’ll actually do a pie one day. If you don’t to a lattice top, and just want to cover it, make sure you make slits or cut a cute little shape out on the top piece.
This one is my favorite. It’s an up and under type of deal. Pick up the dough, place the strip under. Lay the dough down, place the strip on top.
Once you have your tops on, pinch them with the sides to form it all together. If it’s too dry, just your fingers in soem water and then pinch it.
Bake for 15 mins, or until the tops start turning brown and the filling is bubbling.
Take out quickly and make a foil dome ontop and stick back in oven for about 4 mins. No more than four really.
Once its finished sit on a wire rack to cool for 10 mins in pan and then take the tarts out and place on the rack.
Few ingredients, Full flavor!
January 17, 2010
These past couple weeks have been birthday filled! I have baked so many things, but yet I didn’t load them. Maybe I’ll save them for a rainy day. Any-who… Here is my newest birthday creation.
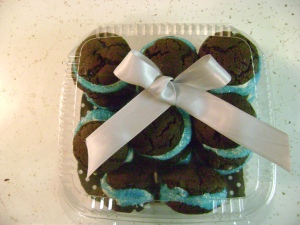
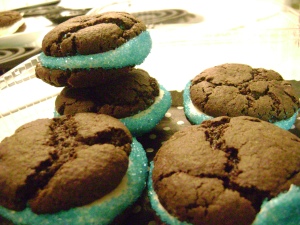
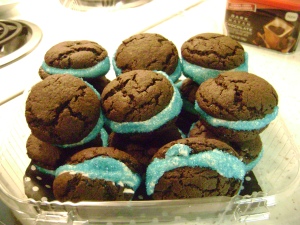
Soft Sandwich Cookies
I love these cookies. Usually I like to make them with red velvet cake mix and fudgy brownie mix combined. This maybe just one of the simplest, easiest recipes I’ll ever put on here.
Ingredients
1 Box dark chocolate cake mix, or any other cake mix you’d like (you do not need whatever is called for on the box of this cake mix.
1/2 Cup butter (1 stick), softened to room temperature
2 Eggs
Directions
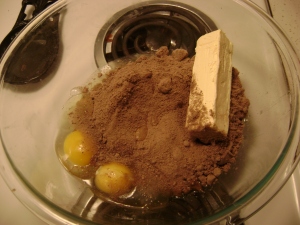
Mix ingredients until combined.
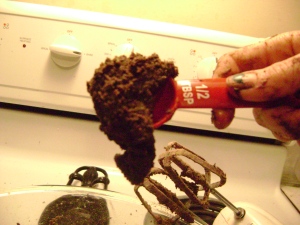
Using a 1/2 tablespoon, roll batter into balls and place on baking sheet.
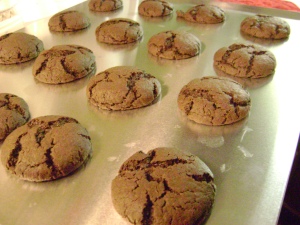
I used different cookie sheets. One is my brand new one I got for Christmas! =) The other is rather old, so to make sure my cookies come up easy, I used parchment paper. I love that stuff. Really. Place them a couple inches apart.
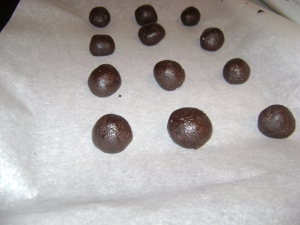
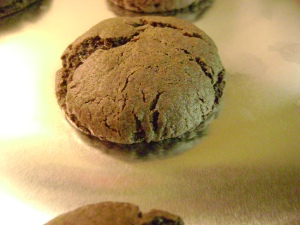
Bake for 12 minutes. These are the kind of cookies you smell when you bake them. You know they are done or close to it when you smell them!
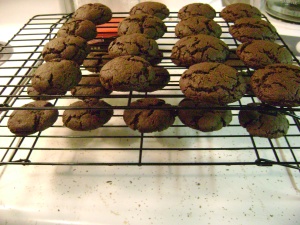
Cool.
Do you see this other gift? My cooling racks are stackable!
Icing
Ingredients
3 tbs milk
2 tbs butter, softened
2-3 cups confectioners sugar
Vanilla flavoring to my likening
Directions
Place milk and butter in bowl.
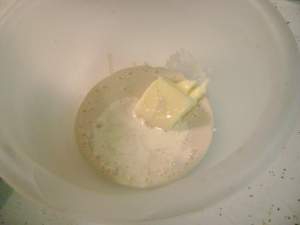
I’ll be honest. I don’t have milk, but I do have coffee creamer (the liquid kind) and whipping cream. I added these and it turned out just amazing! Just think! There are so many creamer flavors. You can make so many different flavors of frosting!!
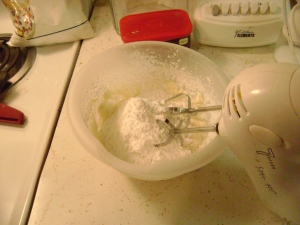
Add powdered sugar 1 cup at a time. Blend well with a mixer. Remember, you want the frosting to be nice and stiff because it will be sandwiched between two cookies.
Place icing on the bottom, flat side of one cookie.

Place another cookie on top, flat side down, and press together until the cream flushes with the sides.

Simple enough right? I hope you really try this one out. It so quick and easy.
