It’s been awhile! Choo Choo!
June 24, 2010
I know I know. Its those lazy summer days. Having a full time job doesn’t really give much time for baking and cooking and decorating and…it just leaves me tired a lot of times.
An old childhood friend’s mom is a great seamstress. Back in May I was in a wedding and Linda, Jessie’s mom, helped with a dress that was too big. She was so kind to do the dress for me and did such an amazing job. To pay her back I made Jessie’s son Jeffery a cake for his birthday this month.
Deciding what you want to do for a young child is always fun. I saw a model of a train topper on www.cakejournal.com and wanted to make it and I really hoped trains would be okay. Sure enough, a train cake was made!
![061900_0150[00]](https://harinayfe.files.wordpress.com/2010/06/061900_015000.jpg?w=300&h=225)
Now, I don’t have any other photos and this one itself is from my phone. I hope you can see the bigger part of the cake, but this is the backside since the fondant doesnt look so clean. =| I realized what I could’ve done different now to fix that. The top layer is a white cake and the bottom layer is all chocolate. The entire cake has buttercream frosting.
Jay helped tremendously on this cake. I was rather sick while making it and having his help made the night go much smoother, even though he had pink hands for a few days.
Missions Week at BCM
April 21, 2010
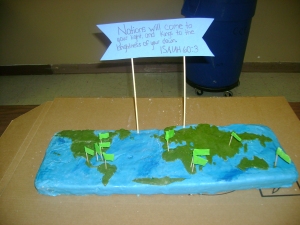
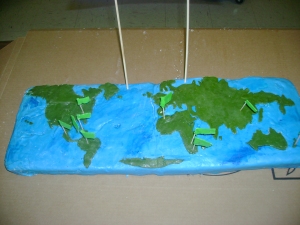
Well, this one took me awhile. This week at BCM was missions week, so I was asked to make a cake. It’s actually fitting for Earth day being right around the corner too, but its purpose is for missions. I was so happy to do a cake this big. I can’t wait to do another one!
The verse on the sign is from Isaiah 60:3- Nations will come to your light,
and kings to the brightness of your dawn
All of the flags are places where students are going this summer for missions.
The Whoville cake.. as Angela calls it!
December 3, 2009
The WHOVILLE cake!
It’s even tie dyed on the inside!
I really wanted to try my luck with a tiered cake. It wasn’t all good, but it was mostly better than bad. I absolutely need some practice. But I really loved how my fondant turned out. I always add flavoring. =)
I don’t have too many pictures of the process, so I’ll try to just tell you a little bit of what I did.
I used any white cake mix. To get the cake to look like THIS on the inside, I divided the batter into 6 bowls, since I wanted to use 6 colors. I layered as you can see in the picture.
After I baked it and cooled it, I leveled it with my new nifty cake leveler that I bought on Black Friday for a mere 3 bucks. That was a nice price to me anyways.
After it was all level, I went ahead and colored my fondant. I went ahead and did the same method with sectioning it into 6 pieces to color it. Then I iced it in butter cream and rolled out my fondant. To get the tie dye look, I rolled them out like worms, then twisted them together, then kneaded it into a ball and rolled out to put on the cake.
And viola! Whoville cake!
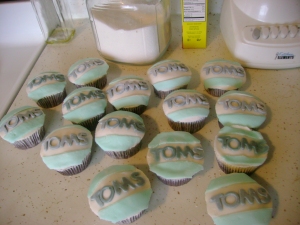
TOMS Shoes.
November 12, 2009

I remember seeing the AT&T commercials for Toms Shoes. I didn’t really think it was a legit organization at first. Once I learned more about it, I realized that it is a great opportunity for people to help out in ways we never thought possible. If you aren’t familiar with Toms Shoes, visit his site and buy some super comfy shoes.
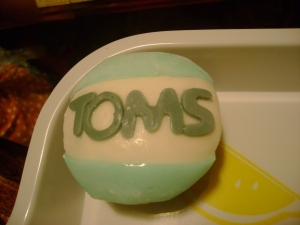
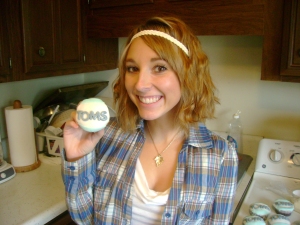
This is my first real experience with fondant. And honestly, I’m so happy, thrilled, ecstatic, you name it, with these cuppycakes. I chose the lazy way out and bought pre-made fondant, namely because I had a test to study for today. I wanted to bake something that I could take to BCM on wed. night.
My wonderful boyfriend surprised me at work one day with a cupcake book. I flipped through it and found a recipe I thought would yield fairly flat top cupcakes. I did get to taste these cupcakes since I cut off the tops of any that started to form a peak.
I started with the Mini Cocoa Cupcake recipe. Since it was meant for mini-cupcakes, it only made 12 cupcakes. Don’t worry, I made more than 12.
Ingredients
1 cup sugar
1 cup all-purpose flour
1/3 cup Cocoa
3/4 teaspoon baking power
3/4 teaspoon baking soda
1/2 teaspoon salt (I used sea salt. I love this stuff!)
1 egg
1/2 cup milk
1/4 cup vegetable oil
1 teaspoon vanilla extract
1/2 cup boiling water
Directions
Heat oven to 350. Either spray muffin cups with cooking spray or use paper liners.
Stir together sugar, flour, cocoa, baking power, baking soda, and salt in bowl.
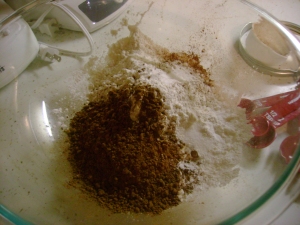
Add egg, milk, oil, and vanilla. Beat on medium speed for about two minutes.
Stir in boiling water. This will make the batter very thin. Make sure to stir it together very well.
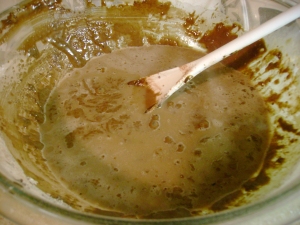
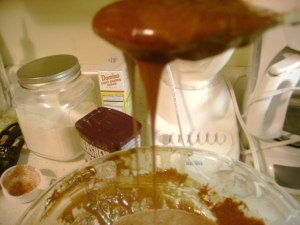
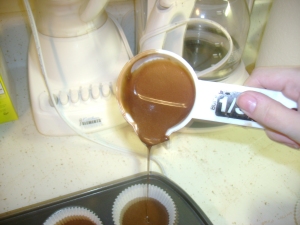
Fill muffin cups 2/3 full. Really try hard not to put that little bit extra in there to overfill it. It is tempting, I know.
I used a 1/3 cup scooper to fill it, but I didn’t make sure the scooper was all the way each time.
Bake for around 10-12 minutes or until a toothpick comes out clean. Let cool in pan for about 10 minutes then set out on wire rack to cool.
Make sure the tops of each are nice and flat. If they aren’t, just slice it off slightly and feel free to eat the scraps! Yum! I sure did.
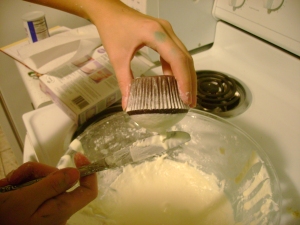
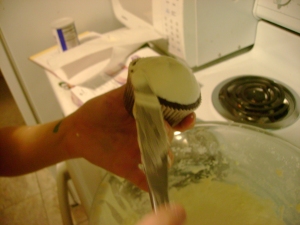
Once the cupcakes are absolutely completely cooled, ice them with buttercream icing. Do this buy dipping the
tops of them. Let the excess drip off back into the icing mix.
Now is time for the fondant. So much patience comes with these steps. While the cupcakes were baking, I took the time to dye and flavor the fondant. For me, fondant is rather bland, so I like to add some plain flavoring to it. Since I needed three colors for these cupcakes, I divided the pre-made fondant into three sections for about how much I felt I would need for each section. To die and flavor, I took a toothpick, dipped either in vanilla extract or food coloring, and kneaded it into it and kept adding color until I got the color I was aiming for. Usually it’s best to buy fondant that is already dyed black. So I tried to use the littlest amount of black as I could. For true black, it’ll take a whole bottle of food coloring and then will leave it tasting funny. Make sure to add plenty of confectioner’s sugar to your work surface and keep picking up the fondant so it doesn’t stick.
Whew! Now moving on…
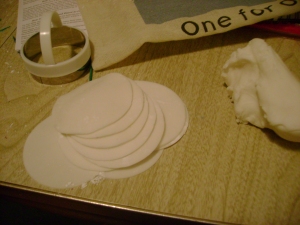
I started with the white covering. I took a large round cookie cutter and cut out circles to fit around the cupcakes, smoothing it around the edges to be even with the edges. After doing every single one of these little cupcakes.
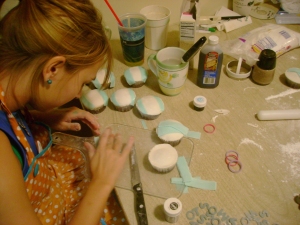
Then I made these nice trident looking strips. To attach these I brushed the back of them with water, either with your finger, or with a paint brush. Then press it onto the top and bottom of each cupcake.
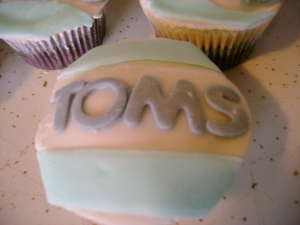
Next come these itty bitty letters. Let’s see. TOMS.. that’s four letters. 4×26= 92. 92 letters that is. Whew.
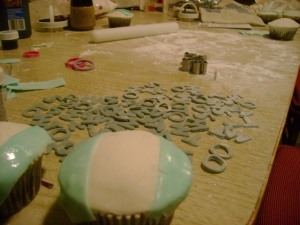
This isn’t even half of the letters… more pressing and cutting.
I just did the same with these letters. Add water. Usually with these I dipped them into the water to get all the powered sugar off of them.
And Viola! Fondant TOMS shoes cupcakes. I hope everyone at BCM thoroughly enjoyed them!
