Kit-Kat Kake
October 6, 2010
I haven’t been updating as regularly as I should. That is going to change! I tried to take pictures of this cake during the making, but I wasn’t having much luck with the camera working. All the photos came out fuzzy and blurry. Soooooooooo…here it is. The final product. The quickest cake ever made by me.![100500_2017[00]](https://harinayfe.files.wordpress.com/2010/10/100500_201700.jpg?w=300&h=225)
It’s a two layer-two tier kit-kat cake. M&Ms are dumped into the area left open. It just looks like a big bowl of candy! After you bake the cake and it is cooled, ice the cake and then immediately put the kit-kat bars against it. After they are put on, you can fill in the area with M&Ms. I tied a ribbon around to it help keep it all together.
I hope everyone at BCM really enjoyed this cake and that I can make it again one day
It’s been awhile! Choo Choo!
June 24, 2010
I know I know. Its those lazy summer days. Having a full time job doesn’t really give much time for baking and cooking and decorating and…it just leaves me tired a lot of times.
An old childhood friend’s mom is a great seamstress. Back in May I was in a wedding and Linda, Jessie’s mom, helped with a dress that was too big. She was so kind to do the dress for me and did such an amazing job. To pay her back I made Jessie’s son Jeffery a cake for his birthday this month.
Deciding what you want to do for a young child is always fun. I saw a model of a train topper on www.cakejournal.com and wanted to make it and I really hoped trains would be okay. Sure enough, a train cake was made!
![061900_0150[00]](https://harinayfe.files.wordpress.com/2010/06/061900_015000.jpg?w=300&h=225)
Now, I don’t have any other photos and this one itself is from my phone. I hope you can see the bigger part of the cake, but this is the backside since the fondant doesnt look so clean. =| I realized what I could’ve done different now to fix that. The top layer is a white cake and the bottom layer is all chocolate. The entire cake has buttercream frosting.
Jay helped tremendously on this cake. I was rather sick while making it and having his help made the night go much smoother, even though he had pink hands for a few days.
Missions Week at BCM
April 21, 2010
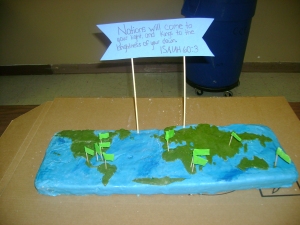
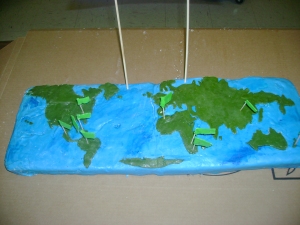
Well, this one took me awhile. This week at BCM was missions week, so I was asked to make a cake. It’s actually fitting for Earth day being right around the corner too, but its purpose is for missions. I was so happy to do a cake this big. I can’t wait to do another one!
The verse on the sign is from Isaiah 60:3- Nations will come to your light,
and kings to the brightness of your dawn
All of the flags are places where students are going this summer for missions.
Cakegirls
April 13, 2010
I know this is a foodless entry, but I felt it appropriate to share the news. I love watching the cake decorating shows. Over the past year or so I’ve loved watching Cakegirls. I was on Cake Wrecks today and they had an article about a recent fire destroying Cakegirls’ shop. I just wanted to make a post about that sharing the information with anyone who hasn’t heard about it yet. I couldn’t imagine putting everything I have into something for it only to be burnt down. I pray that their community helps everyone who was in the building that caught on fire. Hopefully everyone can start to build back up what they lost. Reportedly there were not any death’s other than a neighbor’s cat. Below is a link on the full story.
http://www.chicagobreakingnews.com/2010/03/cakegirls-bakery-in-flames.html
Finally, Grape Cupcakes!
March 17, 2010
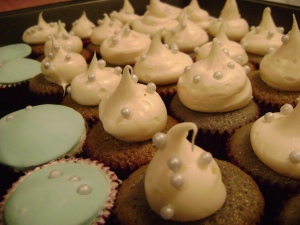
I have been dying to make these for months. I knew as soon as I got my bake it pretty gift card, I was buying grape flavoring, and a large round icing tip. To add to that, I bought purple cupcake liners to match.
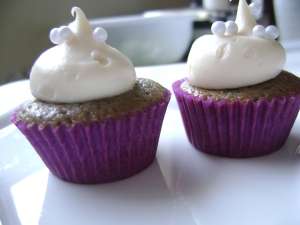
Grape Cupcakes
I really do love these. They’re is something super good about these small things. And do you see how vibrant the liner still is? It stayed so bright after cooking! I’ll be returning to bake it pretty.
I made this from a vanilla bean recipe but left out the vanilla beans this time.
Ingredients
Yields about 50 mini cupcakes
1 stick of butter
1 cups sugar
2 large eggs, room temperature
1 3/8 cups flour (use a 1/8 cup)
3/4teaspoons baking powder
1/8 teaspoon salt
1/2 cup milk
1/2teaspoon vanilla extract
1/4 grape extract from Bake It Pretty
Directions
Preheat oven to 350
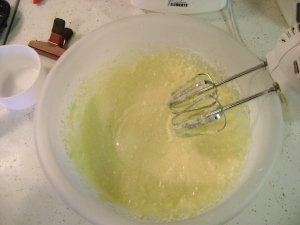
Beat butter until nice and fluffy.
Add sugar and beat until well combined. Do I ever have all the ingredients I need? Nope. So I used 1/2 C sugar and 1 C of powdered sugar. 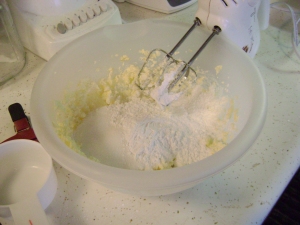
Add eggs and of course, beat.
In a separate bowl, mix flour, baking powder and salt.
Add milk and vanilla.
Add the dry ingredients you mixed in a separate bowl slowly.
Lastly, add grape flavoring!
Well, I didn’t want my cake to be kind of purple, so I went ahead and added purple food coloring.
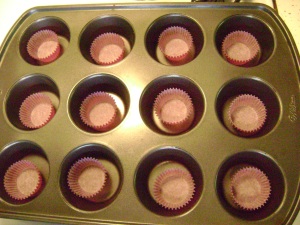
Scoop batter into cupcake liners. My mini muffin pan was missing temporarily, but these liners are so sturdy they stood up fine.
Cook for 15 minutes on 350.
Let cool on a wire rack. Let the power go out. Wait…what? Yeah, the power went out after I had already lined and filled the next set of cupcakes. I eventually went and hung out with Stephanie and we baked, and ate cupcakes, at her apartment.
Once they were all baked, I stored them in the freezer, sealed with saran wrap. and foil. Then I let them sit out to thaw before icing them.
Now,I’d be lying if I pretended everything turned out perfectly. I would tell you what I did to ice these cupcakes but I messed up badly. It was fine, but I got gutsy and tried to add more cream cheese after it was done. I really wanted to finish these, so I went and bought pre-made frosting. I like cream cheese store bought icing anyways. Just like I like my slice and bake cookies better than any homemade cookie.
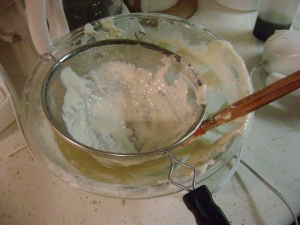
See this icing? I even had to strain it to get the lumps out. I just wasn’t happy. To Kroger’s I went.
Now this icing tip is the one I was talking about. Its huge!
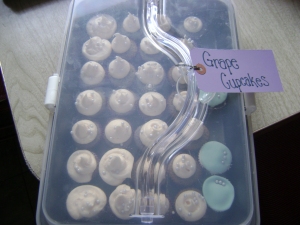
After icing them, I put lilac sugar peals (also from bake it pretty) on the tops and stored them in an airtight container for BCM.
Oh, and this tag…
It’s from Bake It Pretty too.
Celebrate Mustache March!
March 8, 2010
Octobeard, No shave November, Facial hair February, Mustache March.
Oh the days contributed to facial hair of all sorts. For Valentine’s Day Jay got me a gift card to Bake It Pretty. This place is absolutely amazing. I just love it so much. They had this super nifty mustache cookie cutter! So I celebrated the holiday of mustaches. 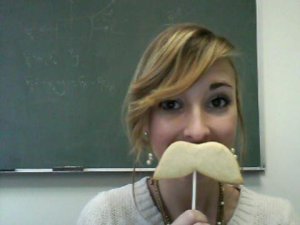
This post is rather.. photoless. I forgot my camera but couldn’t help but make this a post. These cookies on a stick are great for parties. They double as a favor. Make them any color combo you want. I just wanted plain, aka blonde, in case someone didn’t like icing on their sugar cookies. Some were black, a pretty notorious color for mustaches all over the place!
Ingredients
4 Cups all-purpose flour +some
1 teaspoon baking powder
1/2 teaspoon baking soda
1/2 teaspoon salt
1/4 teaspoon ground nutmeg
1 cup butter, softened
1 1/2 cups white sugar
1 egg
1 teaspoon vanilla extract
1/2 cup sour cream—–> this maybe the most important ingredient! The other is defiantly the nutmeg! Don’t skip these!
Most sugar cookie recipes make you refrigerate over night. I suppose you could, but I didn’t and everything turned out fine. I almost ruled out making sugar cookies. I really couldn’t find the ONE. However, this is it.
Softest Sugar Cookies
- Sift together the flour, baking powder, baking soda, salt and nutmeg.
- In another large bowl, cream together the butter and sugar until smooth. You may want to nuke the butter for a bit in the microwave. Beat in the egg, vanilla and sour cream until well blended. Ohhh baby. That sour cream HAS to be what keeps this so moist. Stir in the sifted ingredients. I tend to use my hand when making sugar cookies. The dough is ready when it forms a soft ball and nothing sticks to your hands anymore. Just add more flour if it does.
- Preheat the oven to 325 degrees F (190 degrees C). Working in sections, place dough between two pieces of wax paper and roll out to about 1/4 inch thick. Cut with any cookie cutter you have. Place on an ungreased cookie sheet. If you want to add sticks, shove them into the middle of the dough about half way up. You can lay them on top of the cookie and press down, but I like the way they look after they are finished if they were pressed into the middle
- Bake for 15-20 minutes. Allow cookies to cool on baking sheet for 5 minutes before removing to a wire rack to cool completely.
Icing
Ingredients
1 cup confectioners’ sugar
2 teaspoons milk
2 teaspoons light corn syrup
1/4 teaspoon almond extract
assorted food coloring
Directions
- In a small bowl, stir together confectioners’ sugar and milk until smooth. Beat in corn syrup and almond extract until icing is smooth and glossy. If you don’t like almond extract, skip it. I don’t really like it, but after i ate it, I found myself wanting more of it. Odd. If the icing is too thick, add more corn syrup.
- Put into as many bowls as needed for coloring. This is great for outlining. For it to be more fluid for filling, I suggest adding more corn syrup.
A Valentine’s Day Sweet Treat
February 15, 2010
Molten Lava Cake
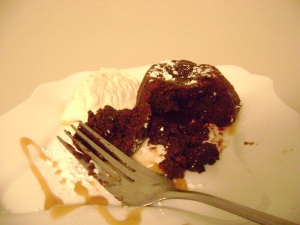
Sweets for your valentine! Melt in your mouth molten lava cake! This dessert is so small is and great for after a dinner, served with a variety of garnishes.
Yields: 6 ramekins; 12 muffin tins sized cakes
Ingredients
8 0z bittersweet or semisweet chocolate (1 cup)
10 tablespoons butter
1 1/2 cup powdered sugar
1/2 cup flour
3 eggs
3 egg whites
1 tbs vanilla
** Add any flavoring, such as coffee or peppermint.
Preheat oven to 425
Grease either 6 6 oz. ramekins or 12 muffin tins. I used butter to grease mine. I did half and half to see which I’d like best. I grabbed some additional butter and rubbed it all over the tins. I don’t have ramekins, although I want them so much! Think of all the options! French onion soup! Oh yum!
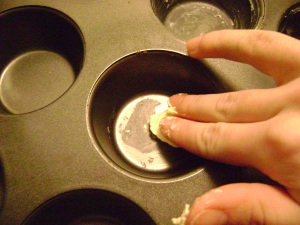
*Ignore my fat ring finger. Its still swollen from spraining it last week.
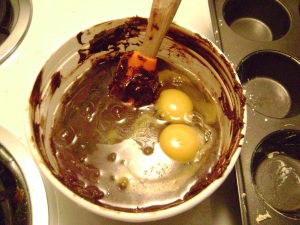
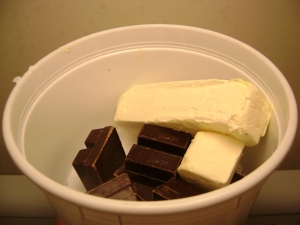
Add all 10 tbs of butter and 8 oz. of chocolate to a medium sized, microwave safe bowl. Heat for 1 minute and stir. Then heat for 30 second intervals, stirring in between each until smooth.
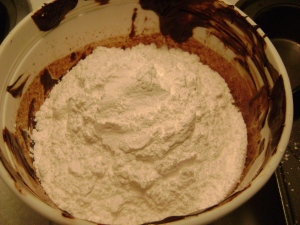
Add flour and powdered sugar to chocolate and butter. Stir until it looks like a typical cake batter. A huge mound of it.
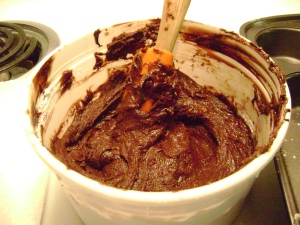
Add eggs and egg whites and stir with a fork until combined completely and add flavoring, such as vanilla.
Divide batter evenly among cups. They’re pretty full.
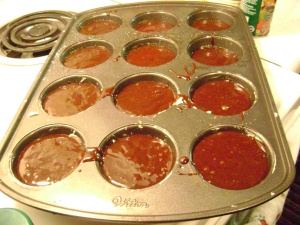
Bake for 10 minutes. Actually I’d bake for 8 minutes. Mine were a little too unmelty, unlava-like on the inside. Maybe its cause I left them in there for 1 minute longer since I was washing all my dishes.

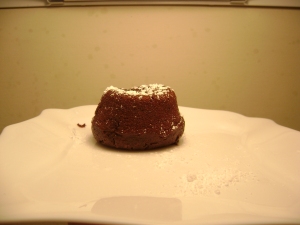
Take out and serve immediately. If you have ramekins, its easier, just invert onto plate and serve. With muffin tins, I ran a knife around them, making sure they weren’t stuck and then took a knife and stuck it under the cake gently and flipped into a plate, upside down.
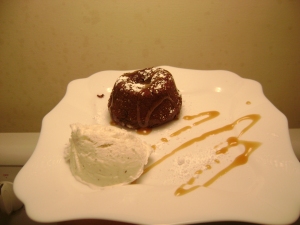
Then I decorate.
And then we ate. and enjoyed. MMMMM
You can serve with anything you’d like; caramel, berries, cool whip, butterscotch, cherries…Whatever you like with warm chocolate cake. I served mine with powdered sugar, vanilla bean ice cream and caramel syrup.
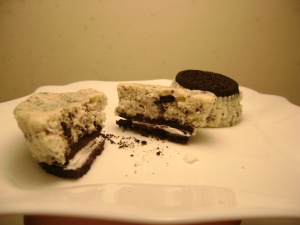
Martha’s Cookies & Cream Cheesecake Cupcakes
January 29, 2010
Another Christmas gift this year was Martha Stewart’s cupcake book. I have really wanted this for so long. There are just so so so so many great ideas in it! Here is my first one.
Cookies and Cream Cheesecakes
Yields 24 cupcakes
Ingredients
1 package of oreo type cookies
2 lbs. cream cheese, room temperature
1 cup sugar
1 teaspoon vanilla
4 large eggs, room temperature
1 cup sour cream
pinch of salt
Directions
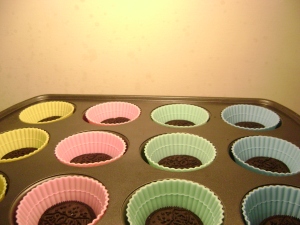
Preheat oven to 275 and line standard muffin tins with cupcake liners. I had the silicone cupcake liners so I used those instead. You don’t have to place these in muffin tins either.
Another cool thing about these cupcakes, is the fill line. The wilton brand ones have a “fill to line” so you wont overload with batter, but it wasn’t needed for this recipe because you its not cupcake batter, but cheesecake batter.
In the bottom of each liner, put a whole cookie. Kind of a pre-made crust.
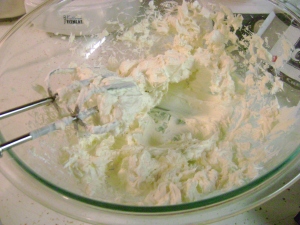
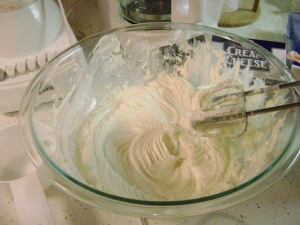
Beat the cream cheese with an electric mixer until well blended, scraping down the bowls.
Add sugar slowly and beat and scrape again. Beat in vanilla too.
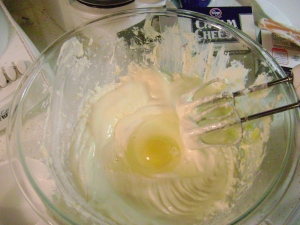
Beat in eggs one at a time, slowly adding them.
Beat in sour cream and salt.
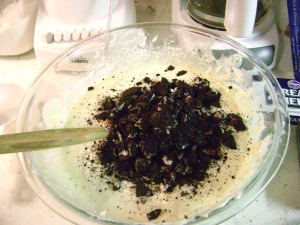
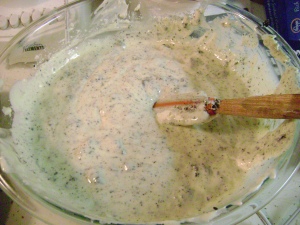
Take left over cookies and crush. Add this to the batter and mix by hand. A hand with a spatula that is.
Fill each cupcake almost to the top.
Bake for 22 minutes, rotating the pan halfway through. They are done when they do not jiggle a whole lot.
Transfer to wire racks to cool. Refrigerate in tins for at least four hours.
Sweet Cherry Pie
January 21, 2010
You know, I don’t like cherries. There was some fruit in Spain really close to cherries that I loved though. Man I wish I could find them. Yesterday was Bryon’s birthday. These birthday’s never stop! Bryon wanted a cherry pie. Honestly, I’ve never made a cherry pie. And I realize that making a full pie, may go to waste over time. So I wanted something more… number friendly I suppose.
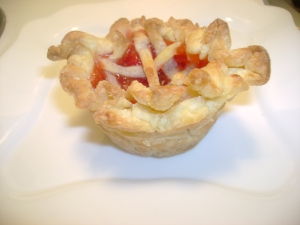
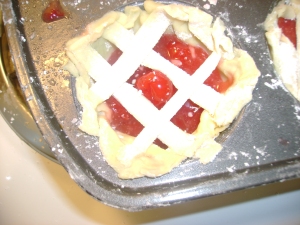
Mini Cherry Pie Tarts
I didn’t try any of these, but my friend Byron did. He said they are good. So I’ll take is word for it.
Ingredients
1 can canned cherry pie filling (you can use frozen or fresh cherries too. Just heat them on the stove top instead and let the juices come out)
1 cup sugar
3 tablespoons cornstarch
2 pastry sheets or frozen pie crusts that you can roll out
1 tablespoon vanilla
2 tbs melted butter
1 teaspoon salt
I really went into all this blindly. I just added and cominded what I thought would actually taste good. Supposedly it is!
Directions
Preheat oven to 425 and grease a muffin tin.
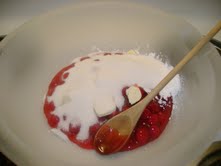
In a bowl combine the cherries, making sure to get all the juice out of the can, butter, salt, cornstarch, and sugar. Stir well and then add the vanilla and stir again.
Let sit and in the meantime, make your mini tarts. Roll out your pastry sheet on a floured surface. I didn’t have flour, so I used cornstarch. Same thing, right? A 3-4 in circle cutter is best, but mine is a little smaller, so I ended up cutting them out of squares with my pastry wheel. Thinking back, I could have cut circles with that too. Hmm. Ohwell, for next time.
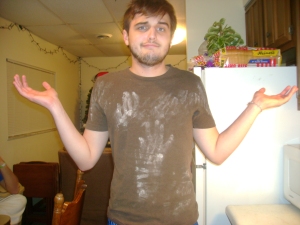
Cornstarch sticks to stuff much better. See?
It was only one hand print at first, but we all lost it cause it stood out so much, so more came.
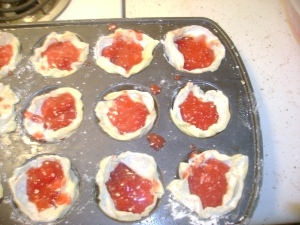
Regaining your composure, stuff the muffin pans with your pastry circles.
Fill with cherry pie mixture. I used alllll of my juices. Fill these up full.
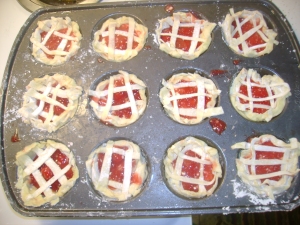
If you want to do a lattice top you can. I just did different checkered patterns to see what I’d like. I’d show you a tutorial on how to do it, but its hard to see on such a small piece. Maybe I’ll actually do a pie one day. If you don’t to a lattice top, and just want to cover it, make sure you make slits or cut a cute little shape out on the top piece.
This one is my favorite. It’s an up and under type of deal. Pick up the dough, place the strip under. Lay the dough down, place the strip on top.
Once you have your tops on, pinch them with the sides to form it all together. If it’s too dry, just your fingers in soem water and then pinch it.
Bake for 15 mins, or until the tops start turning brown and the filling is bubbling.
Take out quickly and make a foil dome ontop and stick back in oven for about 4 mins. No more than four really.
Once its finished sit on a wire rack to cool for 10 mins in pan and then take the tarts out and place on the rack.
Few ingredients, Full flavor!
January 17, 2010
These past couple weeks have been birthday filled! I have baked so many things, but yet I didn’t load them. Maybe I’ll save them for a rainy day. Any-who… Here is my newest birthday creation.
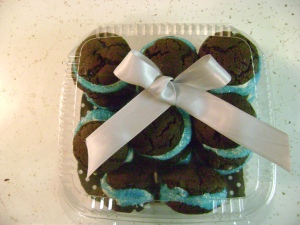
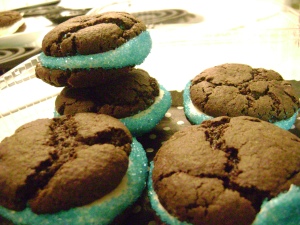
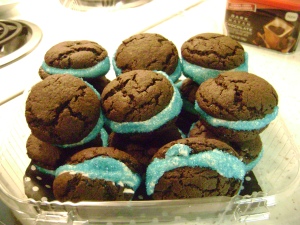
Soft Sandwich Cookies
I love these cookies. Usually I like to make them with red velvet cake mix and fudgy brownie mix combined. This maybe just one of the simplest, easiest recipes I’ll ever put on here.
Ingredients
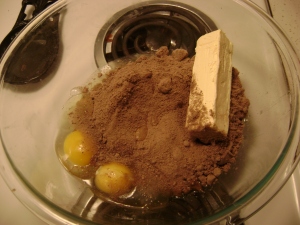
1 Box dark chocolate cake mix, or any other cake mix you’d like (you do not need whatever is called for on the box of this cake mix.
1/2 Cup butter (1 stick), softened to room temperature
2 Eggs
Directions
Mix ingredients until combined.
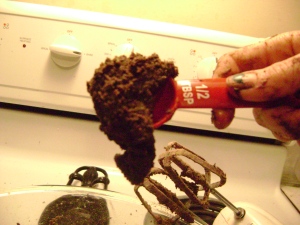
Using a 1/2 tablespoon, roll batter into balls and place on baking sheet.
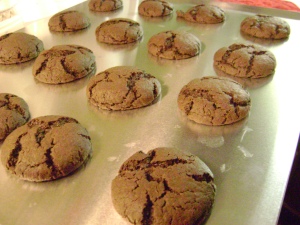
I used different cookie sheets. One is my brand new one I got for Christmas! =) The other is rather old, so to make sure my cookies come up easy, I used parchment paper. I love that stuff. Really. Place them a couple inches apart.
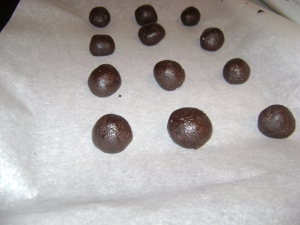
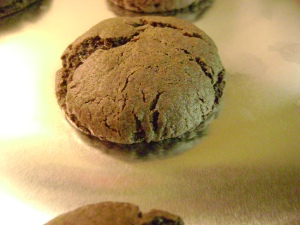
Bake for 12 minutes. These are the kind of cookies you smell when you bake them. You know they are done or close to it when you smell them!
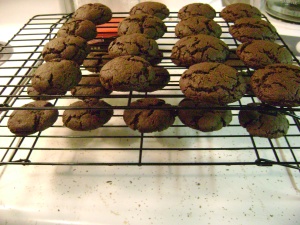
Cool.
Do you see this other gift? My cooling racks are stackable!
Icing
Ingredients
3 tbs milk
2 tbs butter, softened
2-3 cups confectioners sugar
Vanilla flavoring to my likening
Directions
Place milk and butter in bowl.
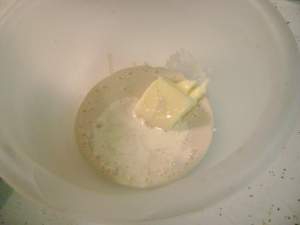
I’ll be honest. I don’t have milk, but I do have coffee creamer (the liquid kind) and whipping cream. I added these and it turned out just amazing! Just think! There are so many creamer flavors. You can make so many different flavors of frosting!!
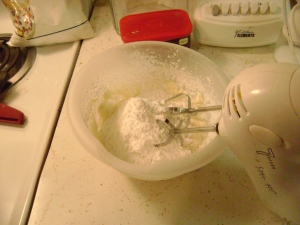
Add powdered sugar 1 cup at a time. Blend well with a mixer. Remember, you want the frosting to be nice and stiff because it will be sandwiched between two cookies.
Place icing on the bottom, flat side of one cookie.

Place another cookie on top, flat side down, and press together until the cream flushes with the sides.

Simple enough right? I hope you really try this one out. It so quick and easy.






![030300_1153[00]](https://harinayfe.files.wordpress.com/2010/03/030300_115300.jpg?w=300&h=225)
![030300_1219[01]](https://harinayfe.files.wordpress.com/2010/03/030300_121901.jpg?w=300&h=225)
